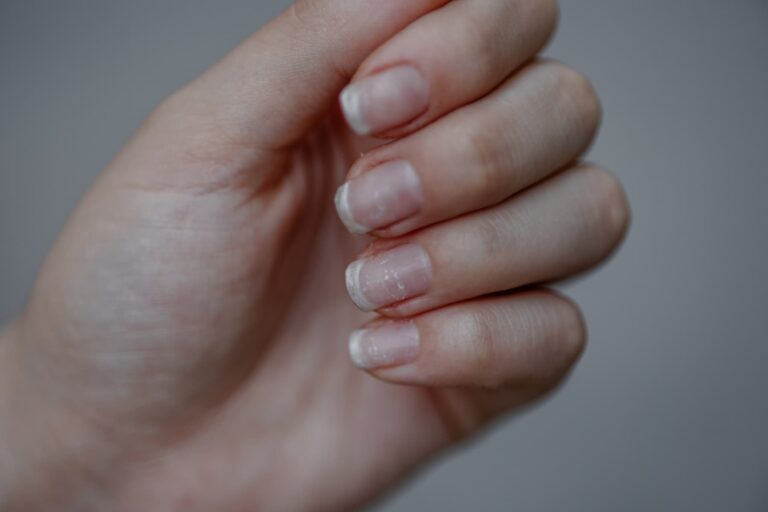
I was sixteen, watching a woman at a wedding reception reach for her champagne glass. Her nails were perfect—clean white tips, soft pink base, nothing flashy. But I couldn’t stop staring. They looked expensive. They looked intentional. They looked like she had her life together in a way I definitely did not.
Years later, I learned that the French manicure was invented in 1978 by Jeff Pink, founder of ORLY. He created it for Hollywood actresses who needed nails that worked with every costume change—elegant enough for red carpets, natural enough for casual scenes . What started as a backstage solution became a global phenomenon.
Today, the French manicure remains the gold standard of nail elegance. Here’s why—and how you can create it at home.
Why the French Manicure Defines Elegance?
Let’s be honest: trends come and go. Neon fades. Chrome dates. But the French manicure has stayed relevant for nearly fifty years. Why?
It works with everything. That sheer pink base and crisp white tip complement every outfit, every skin tone, every occasion. Job interview? Yes. Beach vacation? Absolutely. Black-tie gala? Perfect. Your nails never clash.
It elongates fingers. The white tip creates the illusion of longer nail beds. The soft base recedes, making fingers look elegant and slender.
It signals polish without shouting. In a world of maximalist nail art, the French manicure whispers. It says “I care about how I look” without screaming for attention. That quiet confidence is elegance defined.
It photographs beautifully. Flash photography washes out bold colors but enhances the French manicure’s clean lines. This is why it remains the top choice for brides, celebrities, and anyone who expects cameras.
A nail artist once told me: “The French manicure is the little black dress of nails. It never goes out of style, it fits every occasion, and when done right, it looks like a million dollars.”
Perfect Color Combinations: Four Ways to Wear French
The classic French is just the beginning. Here are the variations that keep this style fresh:
Classic French Manicure
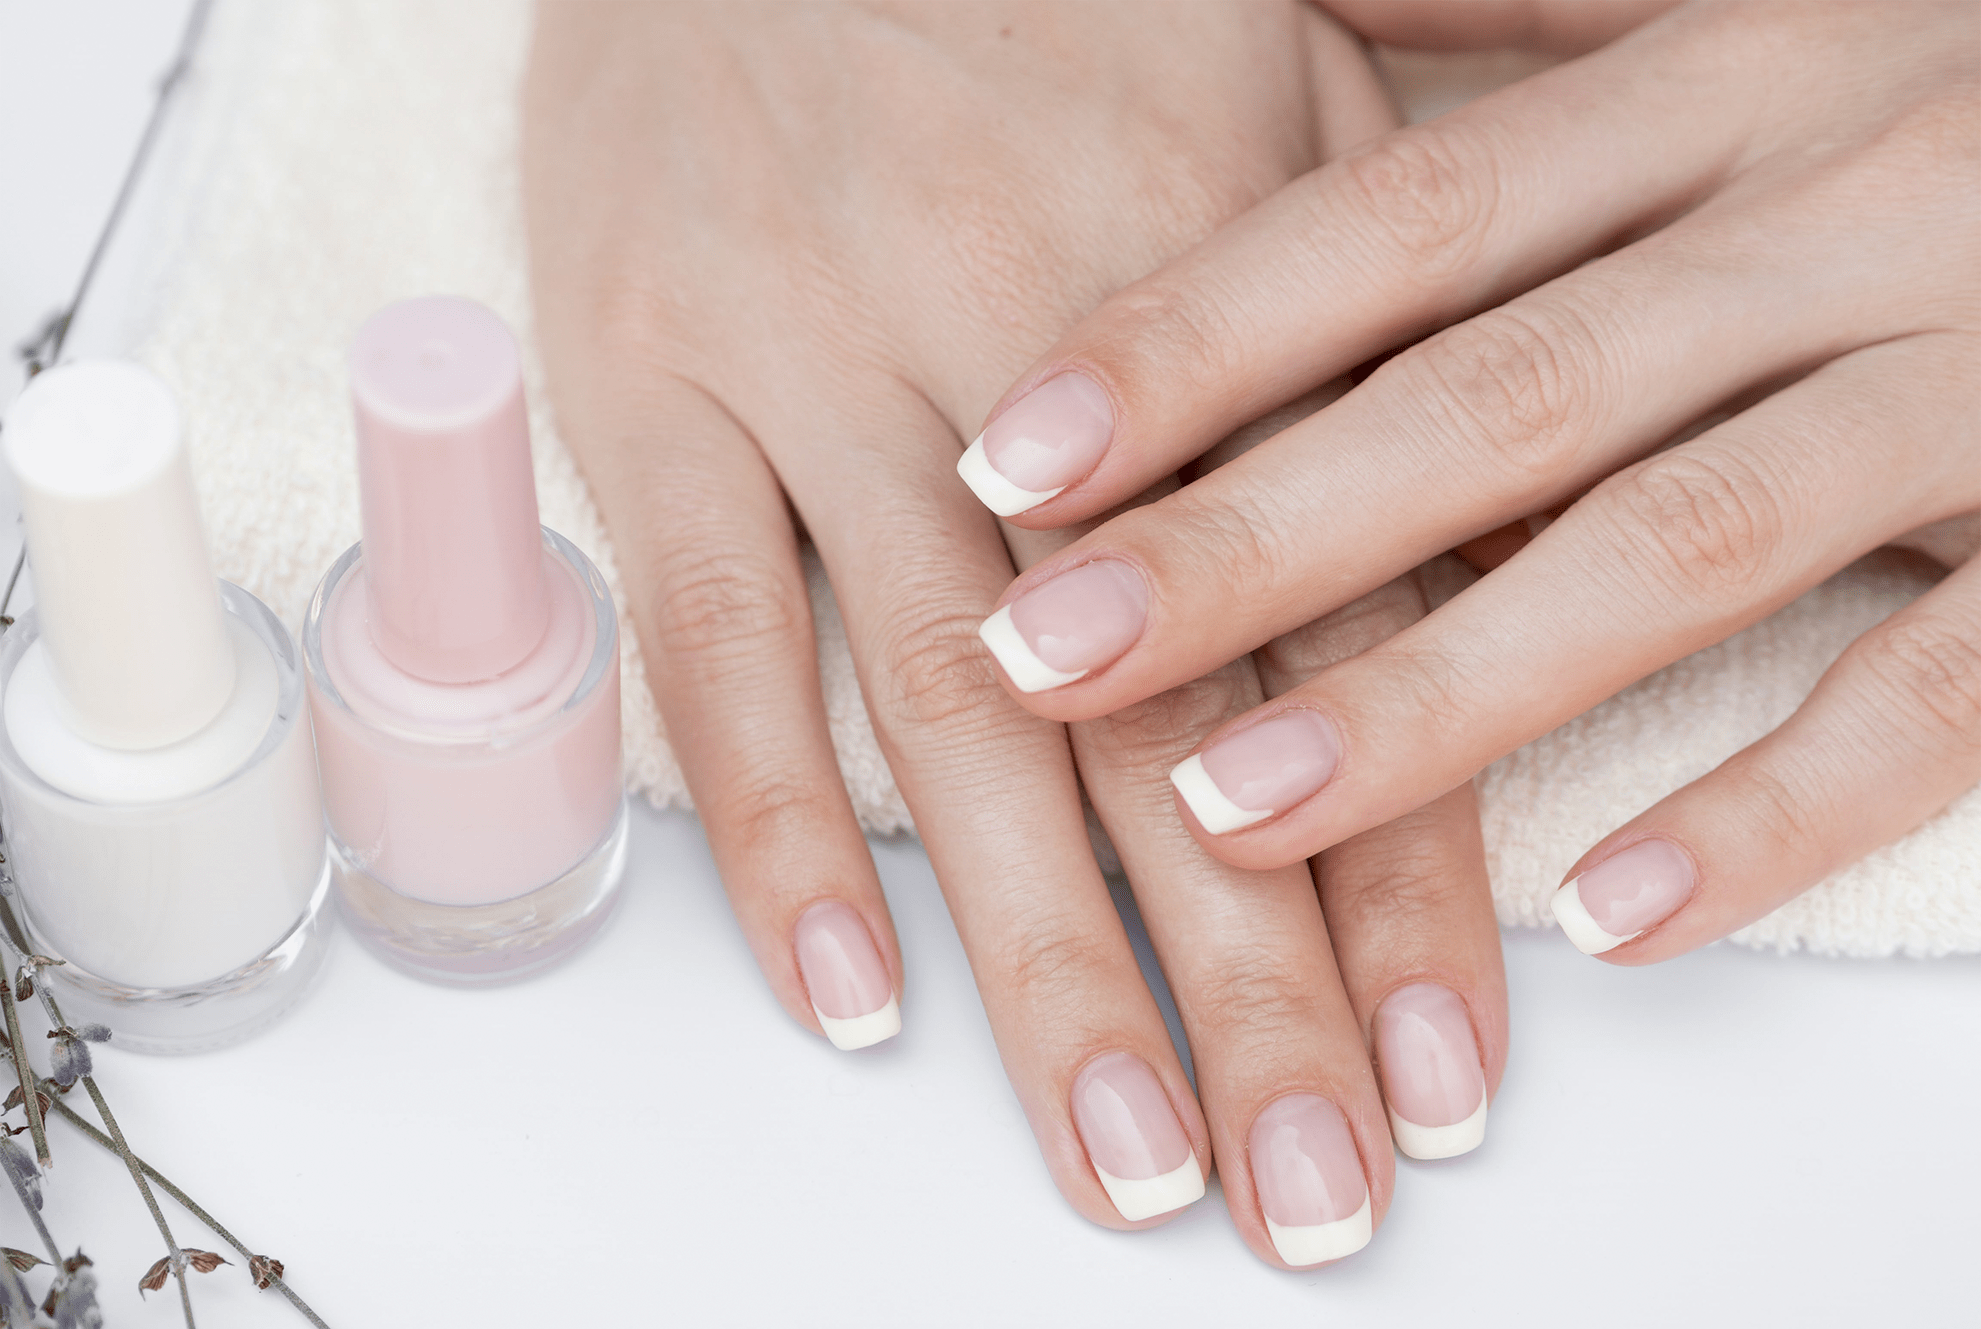
The original and still the standard. Sheer nude or pale pink base with crisp white tips. The base should be translucent enough to see your natural nail underneath. The tip should be opaque and precisely curved to follow your smile line.
Best for: Brides, job interviews, anyone wanting timeless elegance.
Colorful French Manicure
Same structure, swapped colors. Keep the base sheer or neutral, then choose a tip color that speaks to you—soft lavender, dusty rose, deep burgundy, or even metallic gold. The contrast between neutral base and colored tip keeps the look sophisticated while adding personality.
Best for: Adding a subtle pop of color without losing elegance.
Reverse French Manicure
Flip the concept. Here, the color sits at the cuticle instead of the tip. A thin crescent of contrasting polish follows the curve of your nail base, leaving the rest of the nail neutral or sheer. Modern, unexpected, and surprisingly flattering.
Best for: Trend-forward looks, shorter nails, or when you want something different.
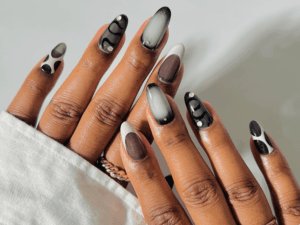
Artistic French Manicure
The classic structure with creative twists. Think double lines (two thin lines instead of one thick tip), angled tips (diagonal instead of curved), micro-details (tiny dots or lines within the tip), or ombre fading (tip color gradually blending into the base). These variations keep the French structure while expressing your style.
Best for: Creative personalities, special events, or when you want your nails to be a conversation piece.
How to DIY the Perfect French Manicure at Home?
Creating a French manicure at home used to intimidate me. Those perfect white lines seemed impossible. Then I learned the secrets.
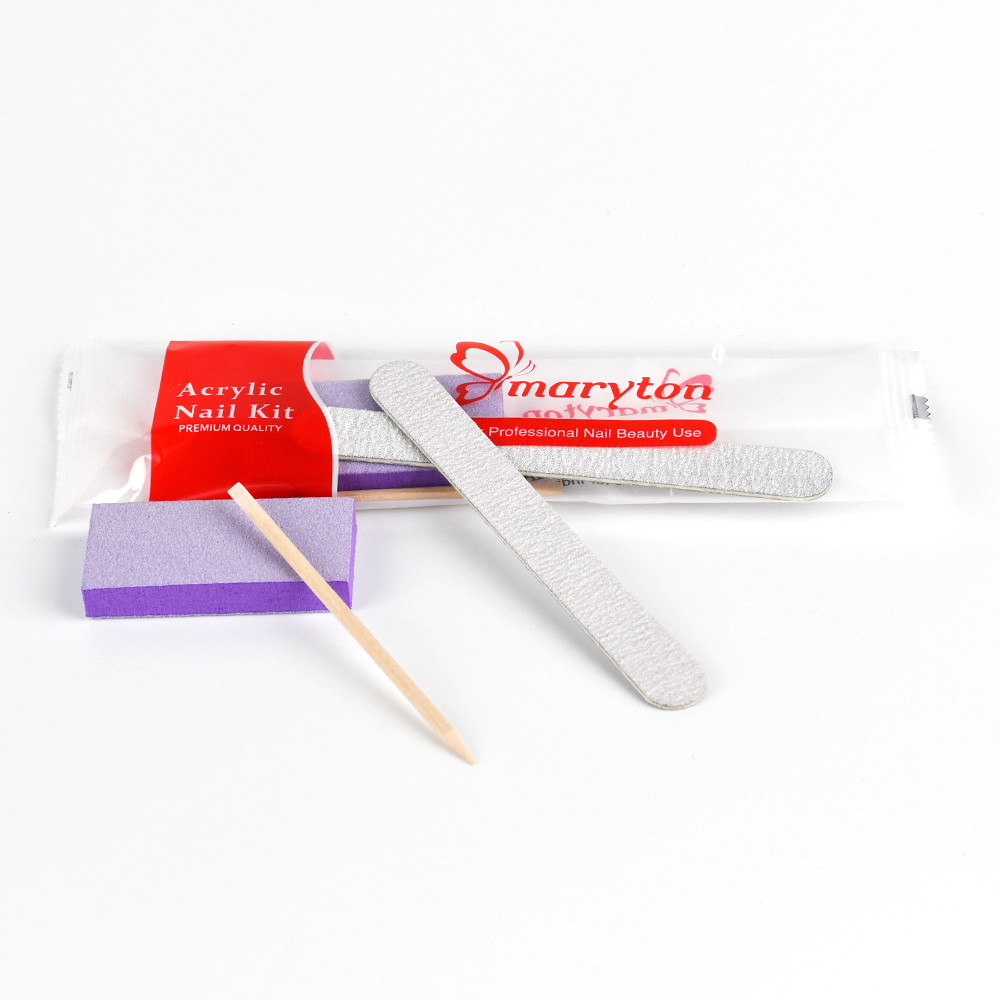
What You’ll Need
- Base coat (sheer nude or pale pink)
- Tip color (white for classic, or your chosen color)
- Top coat (glossy finish)
- Nail tip guides (curved stickers that create the smile line)
- Thin cleanup brush (angled, for perfect edges)
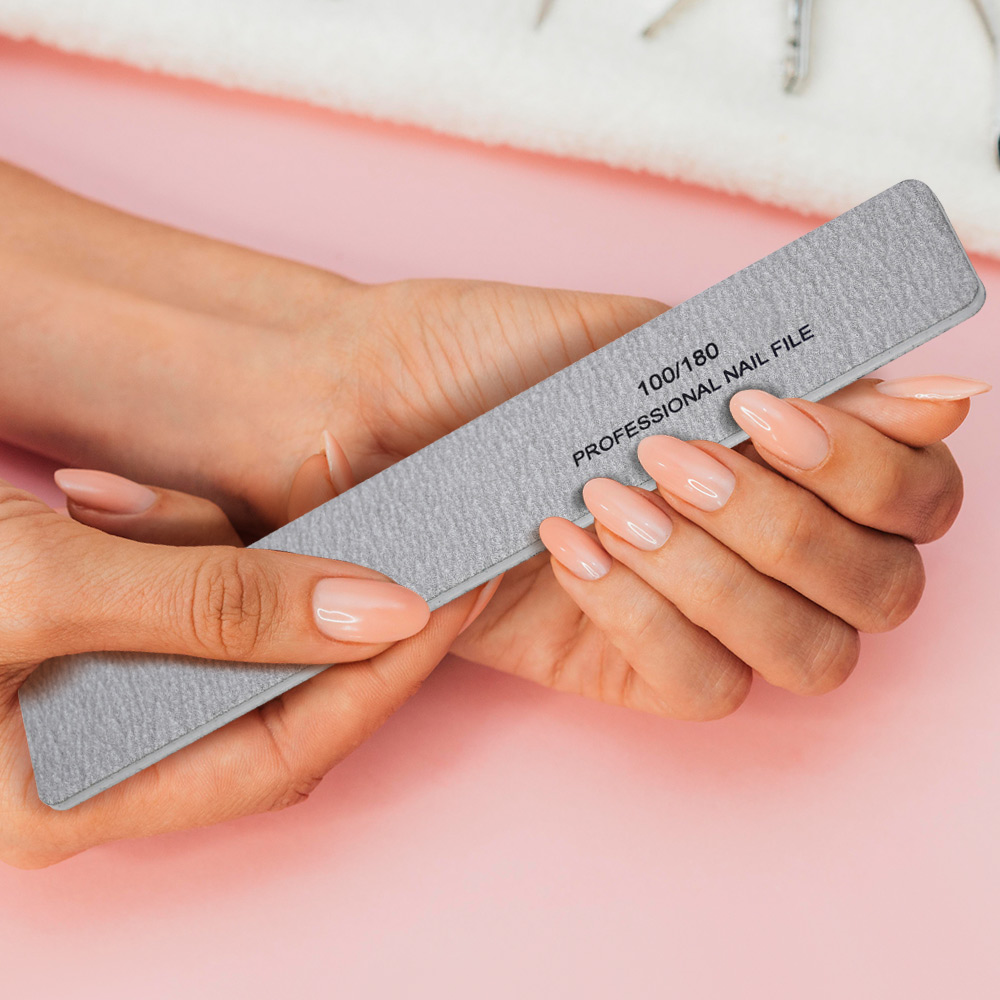
- Nail file and buffer
- Cuticle pusher
- Rubbing alcohol or dehydrator
- Lint-free wipes
Pro tip: Tip guides come in various curves. Buy a few types to find what matches your natural smile line.
Step-by-Step Application
Step 1: Perfect Your Prep
Shape your nails. All the same length and shape—symmetry matters for French. Push back cuticles. Gently buff the nail surface to remove shine. Wipe every nail with alcohol on a lint-free wipe. After this, don’t touch your nails.
Step 2: Apply Base Color
Apply your sheer nude or pale pink base in thin coats—usually two. Let each coat dry completely. The base should be even but still slightly translucent. You want to see your natural nail through it.
Step 3: Position Your Guides
This is the critical step. Place the tip guide slightly below your natural smile line, leaving the very tip exposed. Press firmly to seal edges—you don’t want polish leaking underneath.
Test placement on one nail first. The guide should follow the curve of your nail bed. If it doesn’t match perfectly, try a different guide shape.
Step 4: Paint the Tips
Apply your tip color in one smooth stroke across the exposed tip. Don’t overload the brush—thin coverage is better than thick. One coat is usually enough for white tips. For colored tips, you may need two thin coats, allowing drying time between.
Step 5: Remove Guides Immediately
While the tip polish is still wet, gently peel off the guide. Pull away from the tip to avoid smearing. If you let the polish dry first, removing the guide can pull up the edge.
Step 6: Clean Up Edges
This is the professional secret. Dip your thin cleanup brush in polish remover and run it along the line where tip meets base. This perfects the curve and removes any bleeding. Do this while the tip polish is still slightly wet for easiest cleanup.
Step 7: Seal with Top Coat
Apply glossy top coat over the entire nail. Cap the free edge. Let dry completely.
Professional Secrets for Perfect French
Roll, don’t shake. Shaking polish creates bubbles. Roll the bottle between your palms.
Use a dotting tool for curved tips. If guides aren’t working for you, use a small dotting tool dipped in tip color to “draw” the curve, then fill in. This gives you complete control.
Consider a French tip brush. Some brushes have a perfectly curved shape designed for freehand French. Worth the investment if you do this style often.
Practice on tips first. Buy a pack of fake nail tips and practice your French technique before doing your own nails. Muscle memory makes a difference.
Start with the dominant hand first. If you’re doing both hands, do your dominant hand first while your nondominant hand is fresh and steady. It’s easier to do the harder hand when you have more energy.
Common French Manicure Mistakes
Tips too thick. One thin coat beats two thick coats. Thick tips look bulky and fake.
Base too opaque. If you can’t see your natural nail through the base, you’ve lost the French effect. Sheer is the goal.
Guides placed wrong. The guide should follow your natural smile line, not create a new one. Look at your nail’s natural shape before applying.
Skipping cleanup brush. Even professionals use cleanup brushes. That final perfect line comes from correction, not flawless first application.
Forgetting to cap tips. Seal those free edges with base, color, and top coat. Unsealed tips chip first.
The Bottom Line
The French manicure endures because it does one thing perfectly: it makes your hands look polished, elegant, and intentional without trying too hard. Whether you choose the classic white tip or explore colorful, reverse, or artistic variations, the structure remains timeless.
With the right nail supplies and a little practice, you can create this iconic look at home. Your first attempt might not be perfect. Your fifth will be better. By your tenth, you’ll wonder why you ever paid someone else to do it.
Your nails deserve elegance. The French manicure delivers exactly that.